May 23rd, 2005 - Gutting The Fish


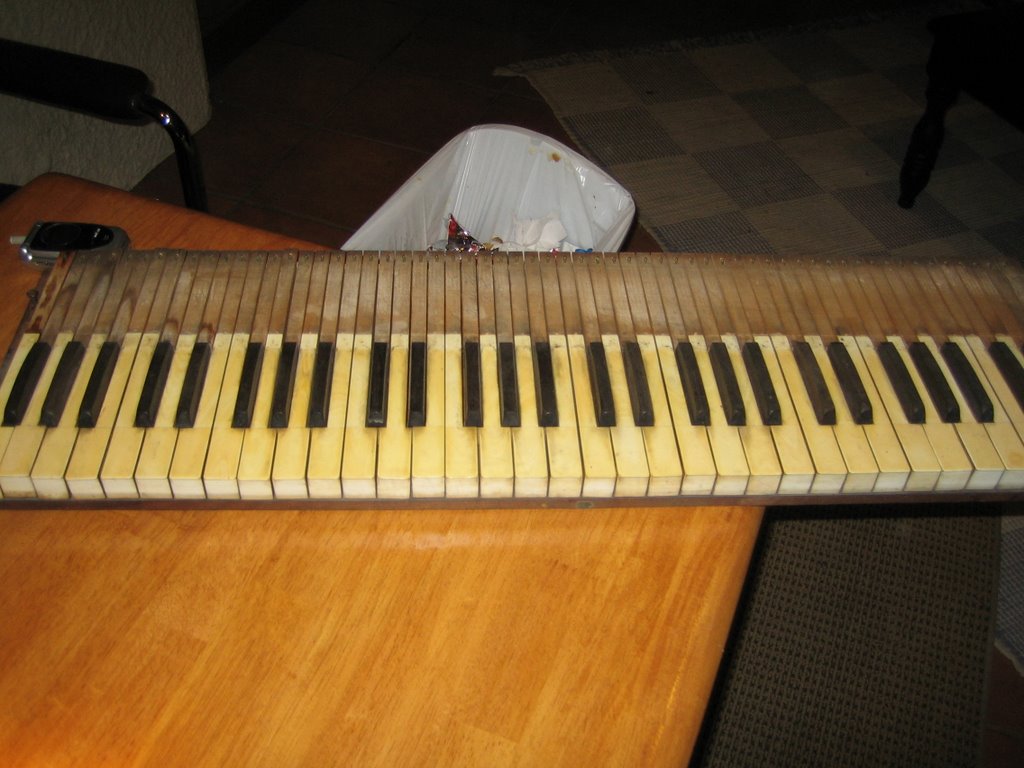
Now we're into some real meat. In fact I was surprised not to find any dead animals deep in the bowls of this thing.

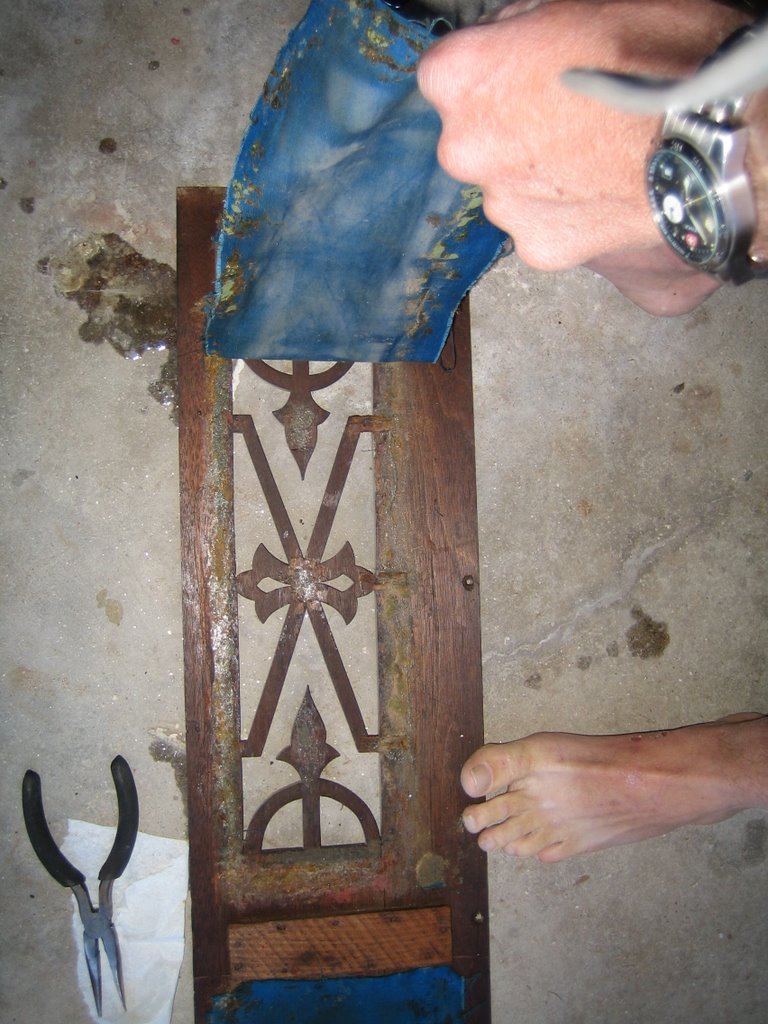
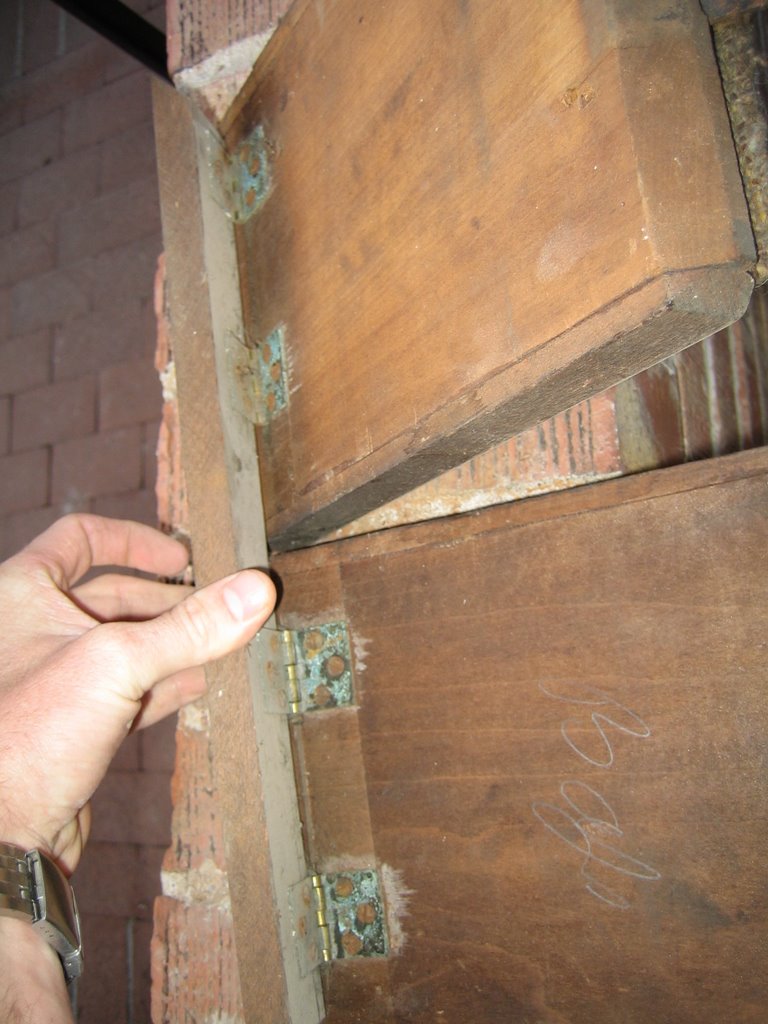
Once again, sure to document the whole tear down, I slowly addressed each screw and found the pieces easily came apart. I could now see the mechanics behind this whole contraption. It seemed simple enough. You pull the draws and they actuate levers, and in turn those levers lift little doors allowing air to move out through them, giving the sound you want - hopefully.


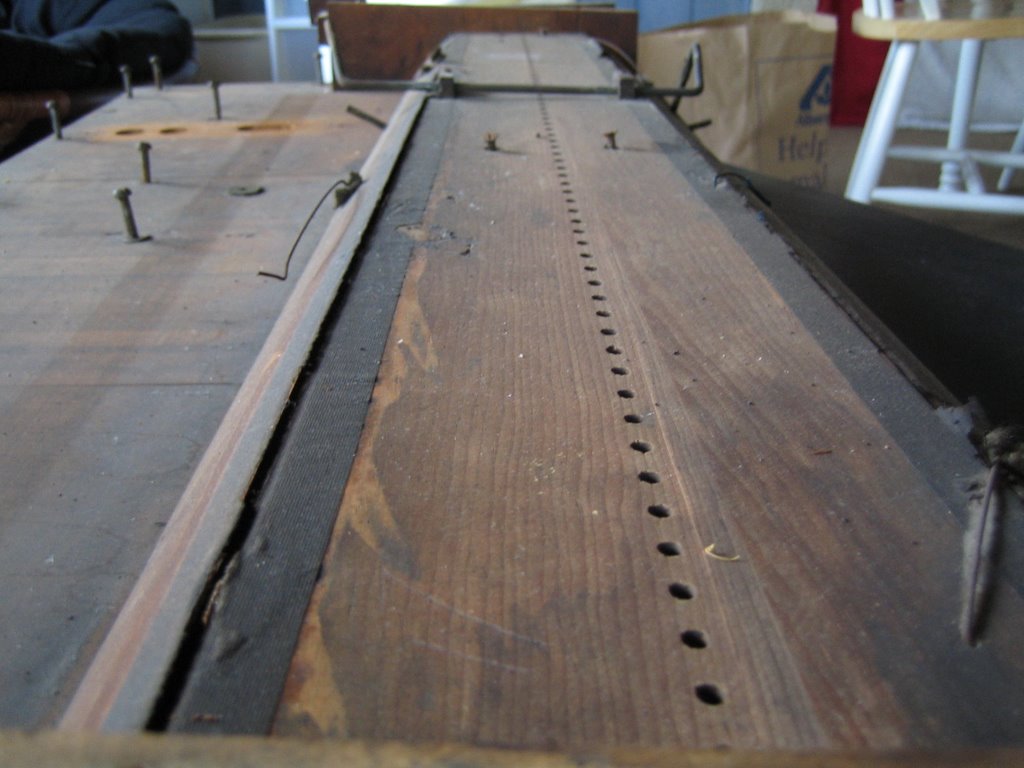
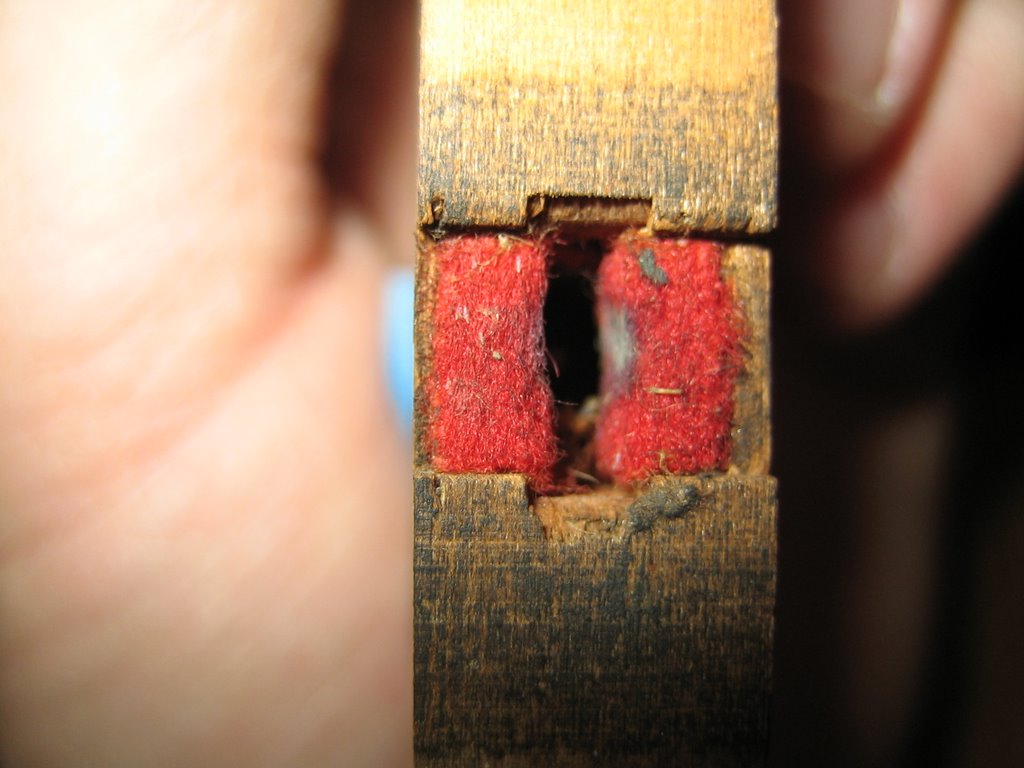
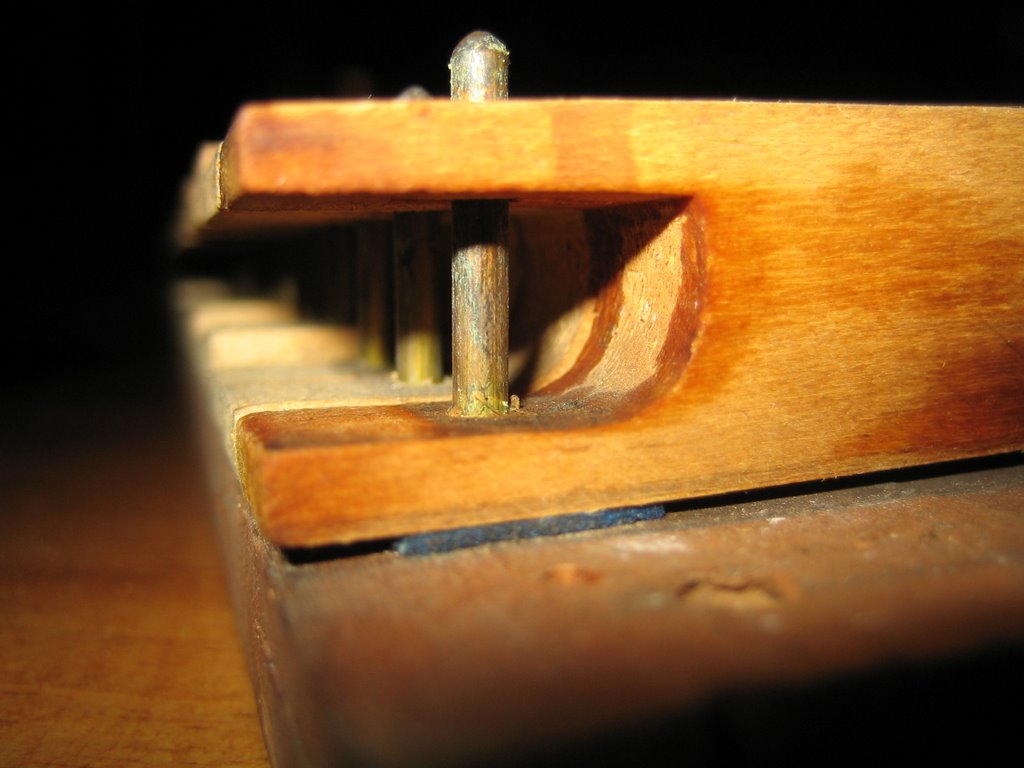
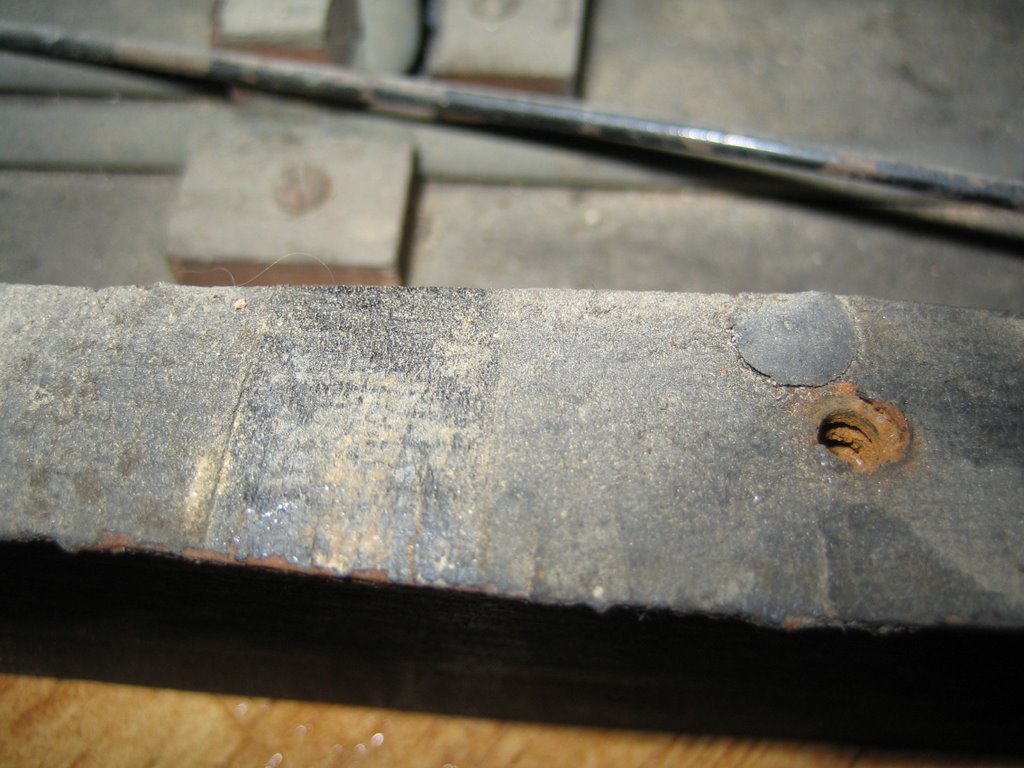
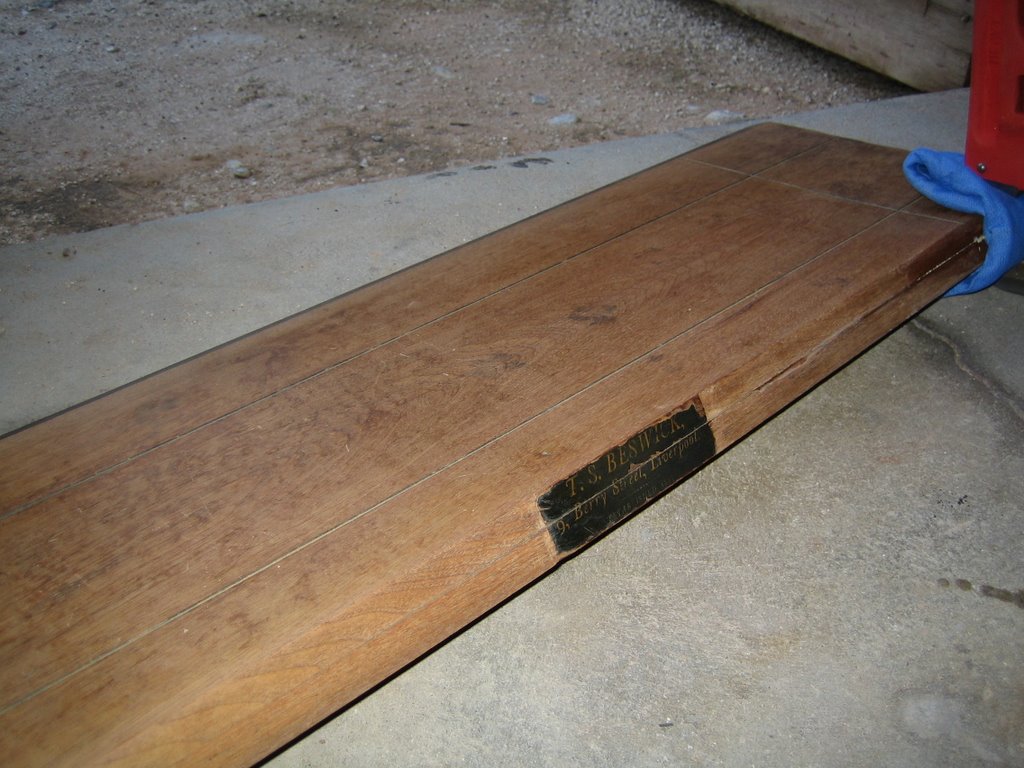
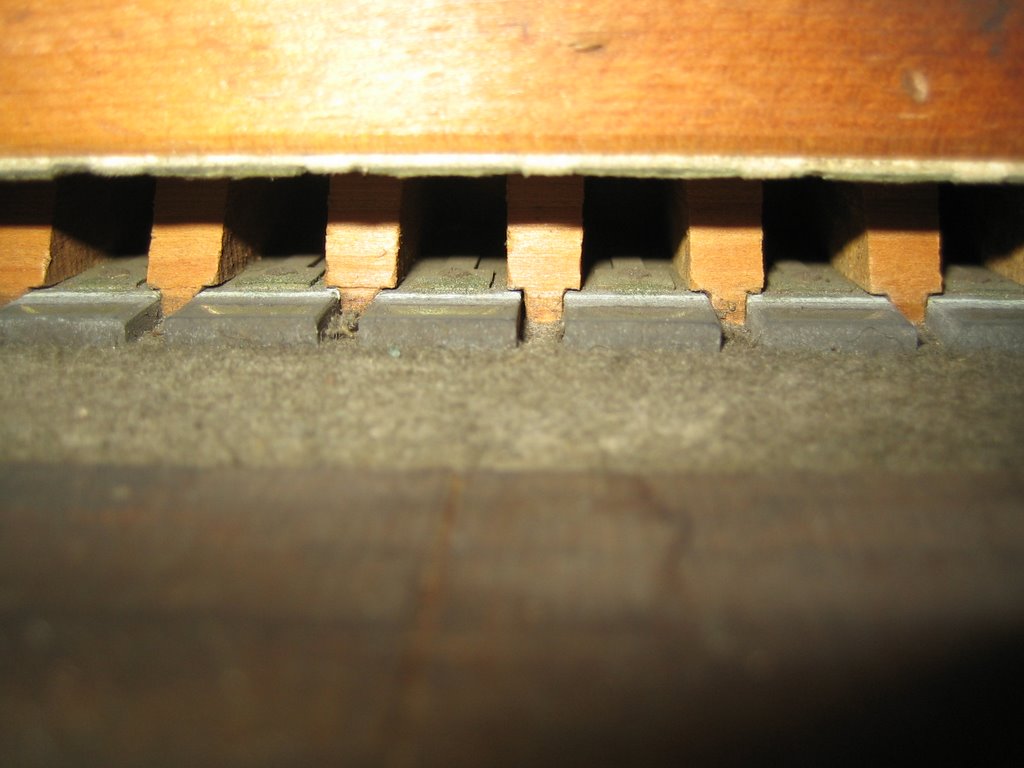
(This shows what is essentially the "valve cover" for the organ reeds. That seam along the left is a door which opens to allow air out. It is one of the pieces actuated by the draws. The taped seam on it is cracked and ineffective and needs to be replaced, however, I can't seem find a good replacement for it. The holes that run along the spine there are for a series of small pegs. The pegs reach down to the doors on the reeds and are depressed by the keys. The system's simplicity is remarkable.)

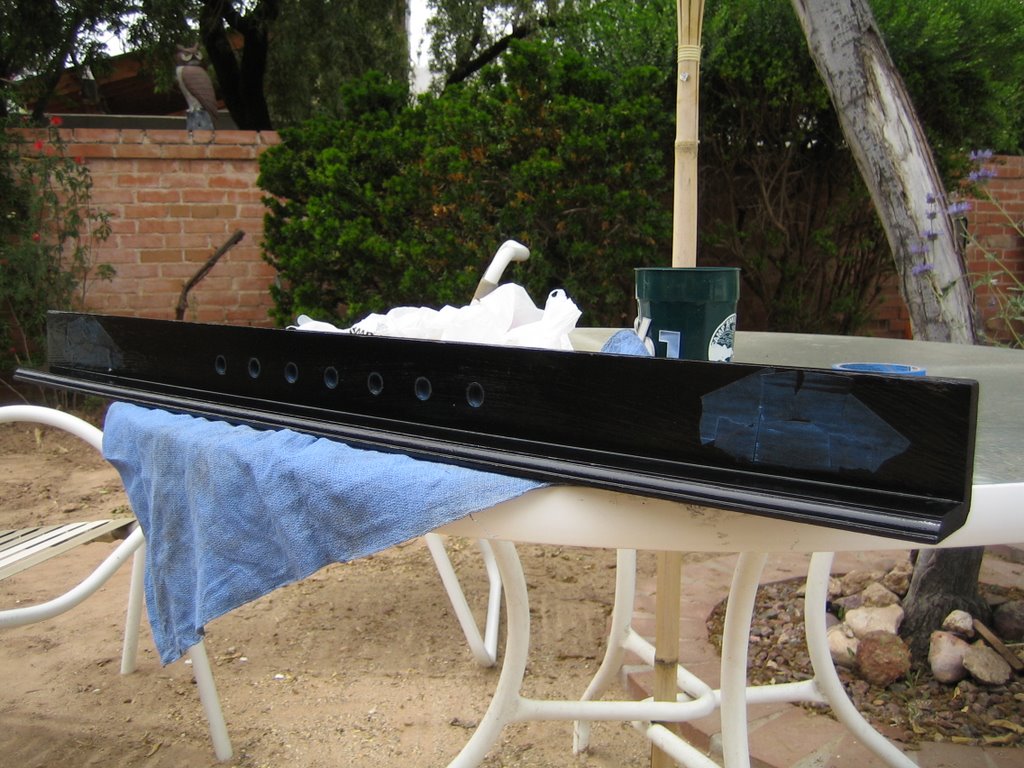
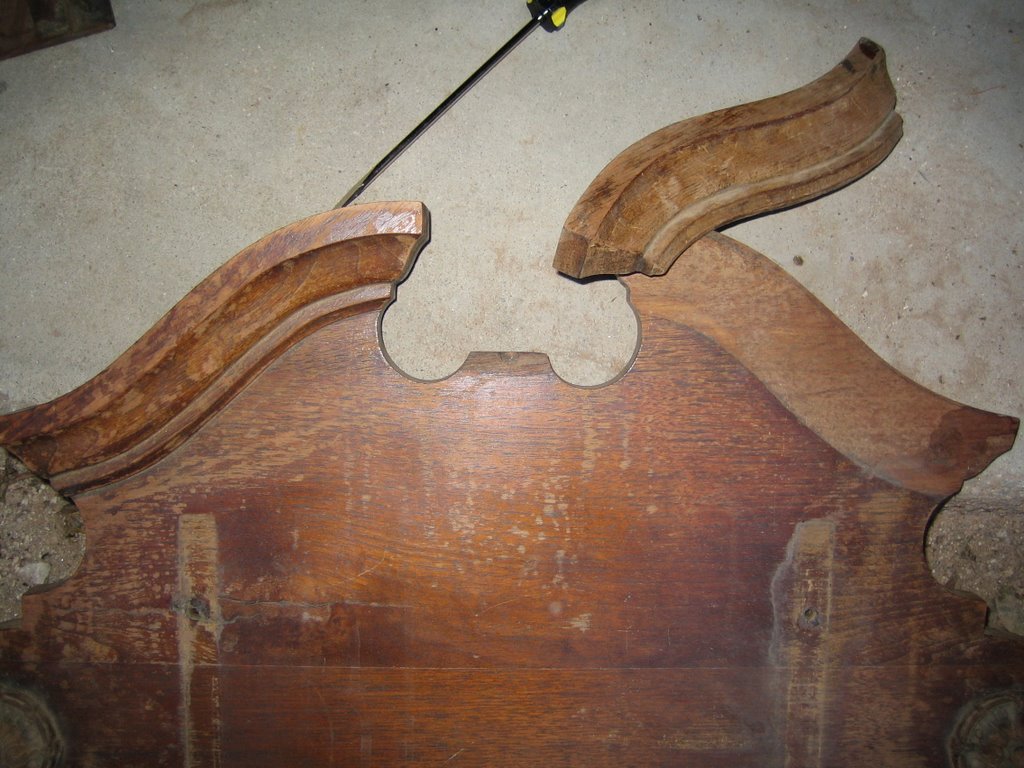
Down the line... the harmonics garage door

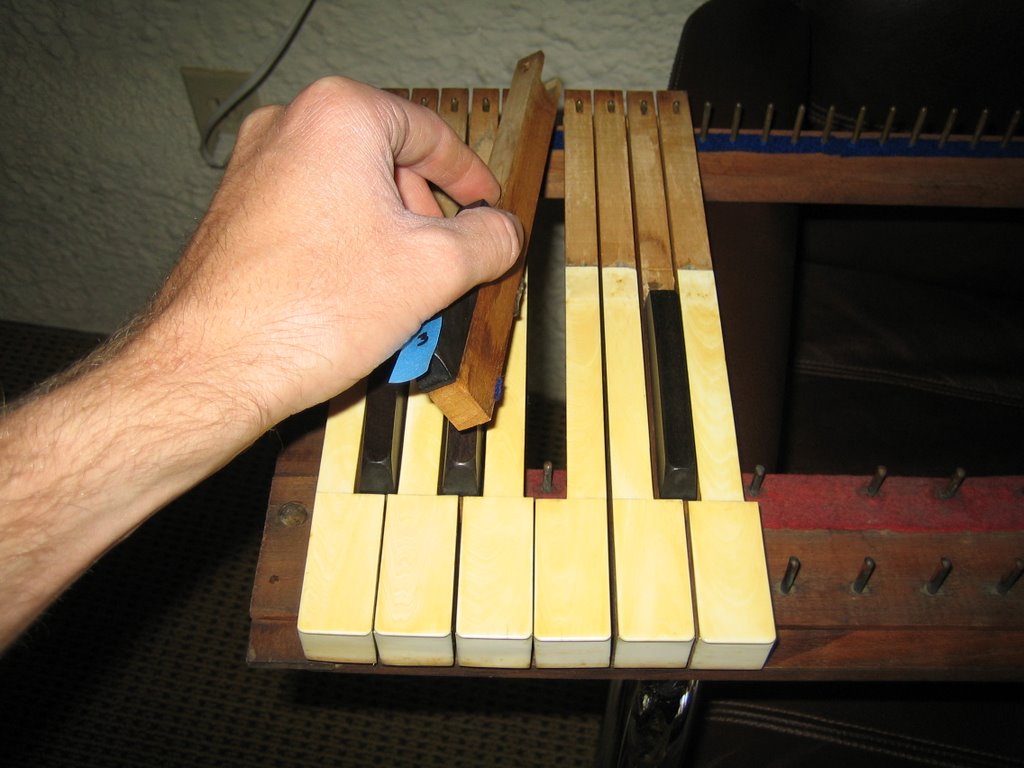
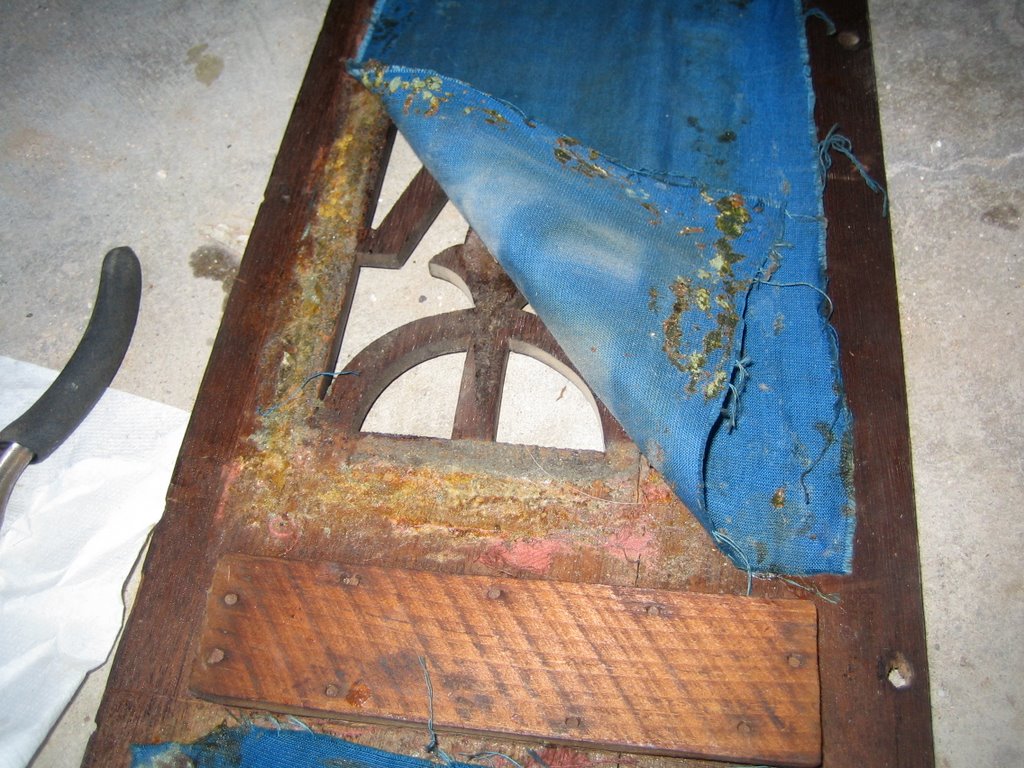
The felt here needs to be cleaned up, otherwise it looks pretty good. The reeds are all shiny and the wood on both the door and the floor is dry and solid. All I need is a vacuum cleaner.

Door Closed & Door Open


But before all that, the opening of doors, the moving of air, the creation of sound (per above paragraph), can happen the sound has got to get going in the first place and thus we dig deeper, into the reeds.
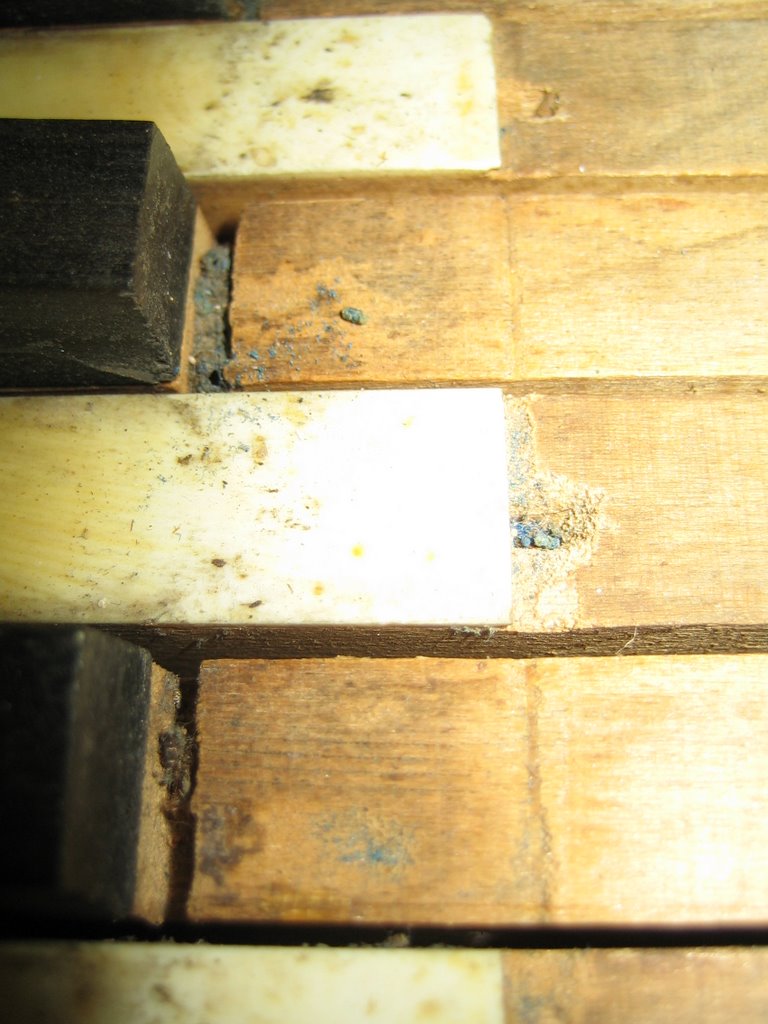
I discovered that the basic structure is on par with a 25 cent harmonica. A number of reeds all lined up and each sealed off, impervious to the air that is being pumped into the chamber below. That is until you depress on of your keys topside. This key pushes down upon a small dowel - about an inch long, if that, and rests in a tiny socket, aforementioned - and this dowel moves the small wooden slat out of the way allowing the air to rush though, in turn vibrating the reed to it's maximum potential, just like it's father would have liked.


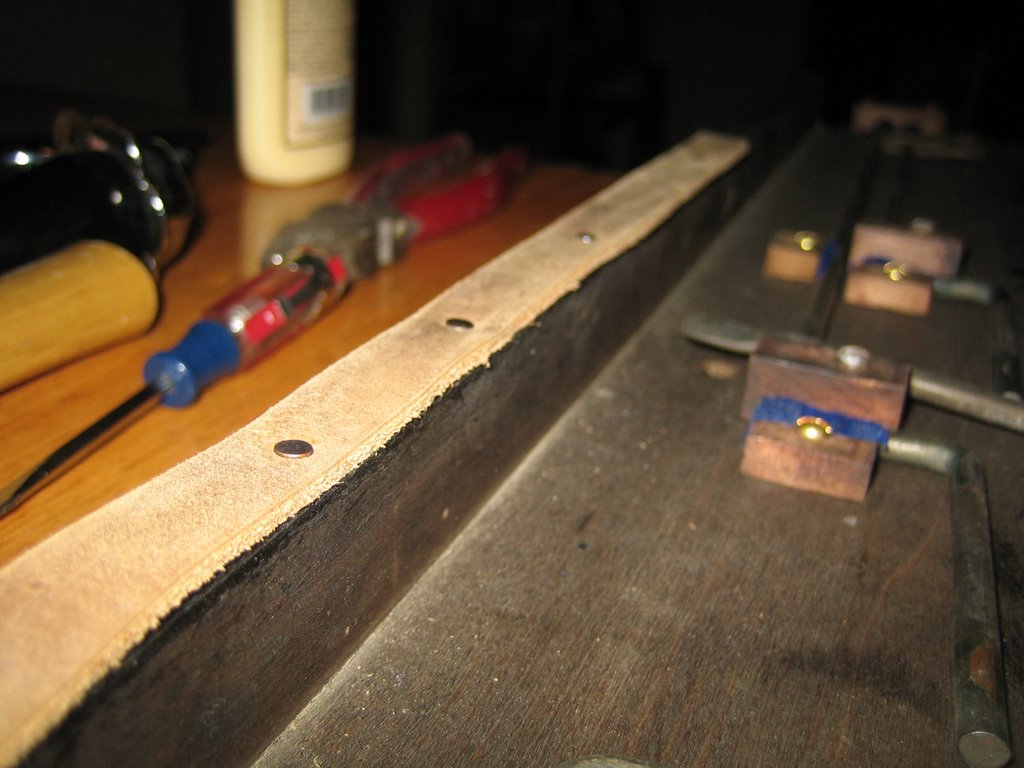
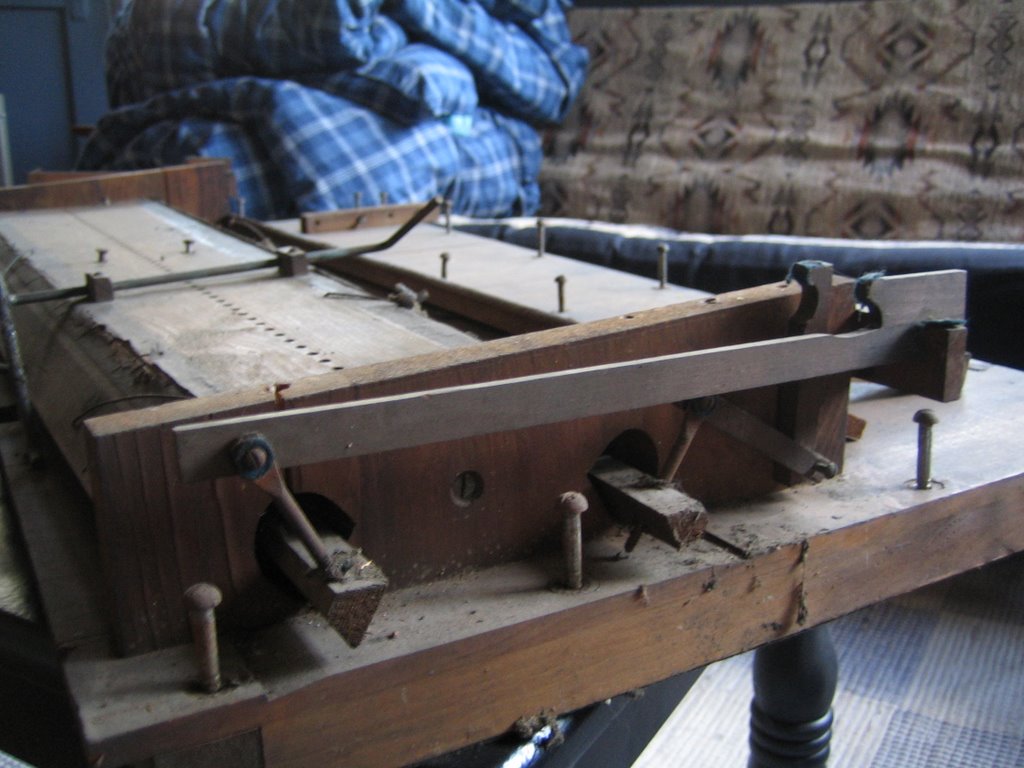
Underside of "reed board" where the slew of slats sit.


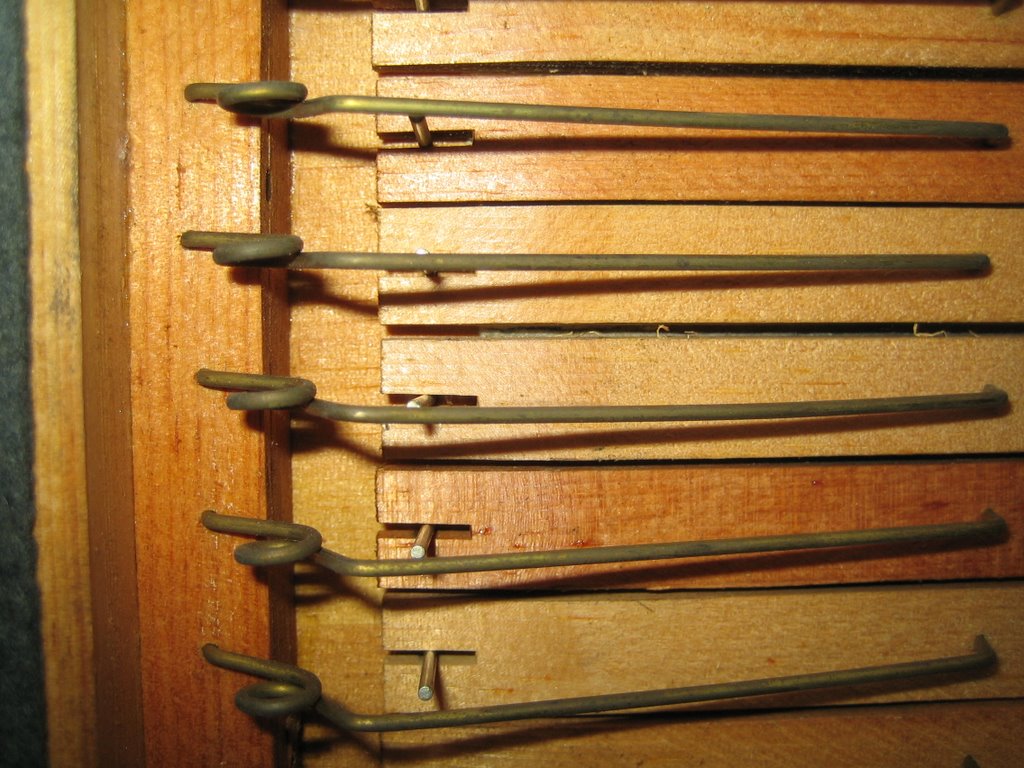
A closer look - see the springs that hold the slats in place. One of these springs was off and causing problems. It was corrected. The wood down here is soft, really soft, kind of cheap, almost like a balsa. I'm curious if that's a sound thing or a less expensive thing or a high end thing? I'm curious as to the rational behind construction material here.


Another look - quite close now. Quite simple.


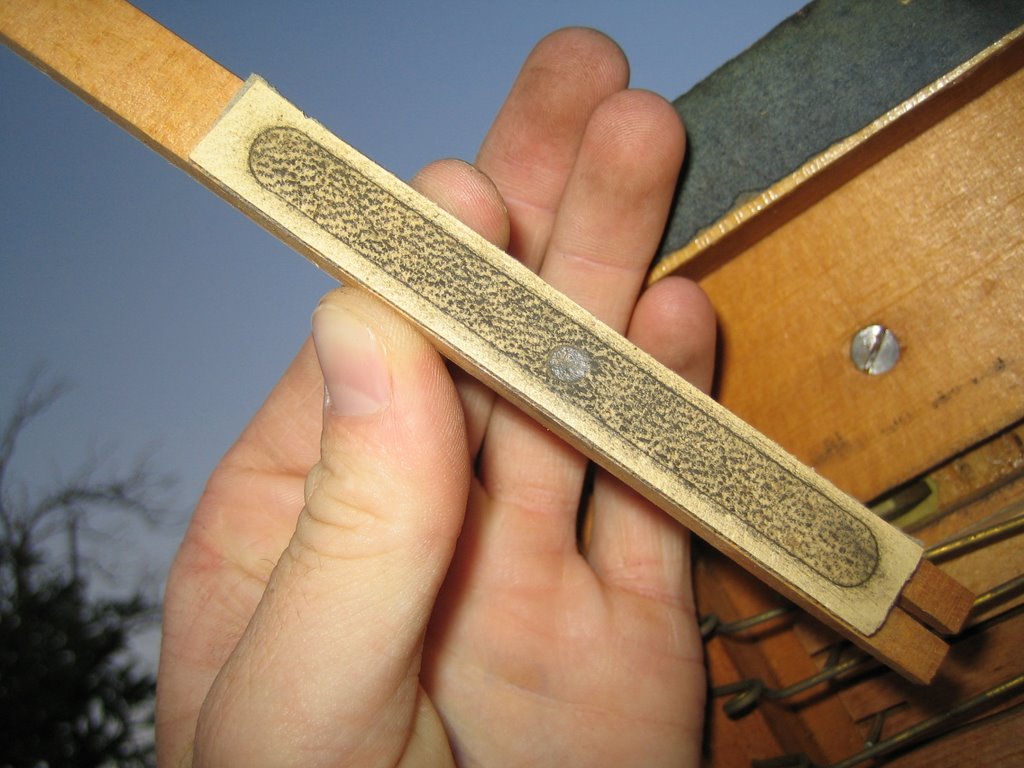
The wood slat or "Air Traffic Controller."


And finally a look inside at the reed it's self.


*Not a lot of work detail here - this was more of an exploration day.
**The "" names given are solely my creation and may not reflect the actual names of parts.

May 13th, 2005 - A Key Step


Start from the beginning, I took the #3 black key.. A# I believe, or perhaps you know it as b-flat.

Check out the felt there. Old, stiff, broken felt - time to replace with soft and new... why not make it blue.


Ta-Da! You can't see the hole, but there's one there. Smooth action too.


and... Back onto the rack.

May 12th, 2005 - Play by Number


Removed and numbered the keys and then looked at the rack.


Before:


Then a little cleaning.... there that wasn't so hard.

After:

May 7th, 2005 - Keyboard, Corison, Crud, Signatures and Stamps...


Time to check out the keyboard. The #1 part of the instrument, inspected by everybody.


Signatures and a Date - Today I got a good idea of how old this instrument is. Can you read it? 1879.


The back side of the keys - the brass posts they sit on seem to have a little corison, but otherwise look fairly good.


Again the felt pads aren't looking too good, but the front brass pegs look fair and those pads will clean up with out much difficulty.


The keys are simply in need of some TLC. Time to bust out the Q-Tips and start cleaning. I actually moved into cotton balls because they were less expensive and covered more area quickly.

May 7th, 2005 - I felt...

The paint was quickly dry in the May sun of Tucson and I had brought the piece back inside where it could rest until my next chance to work on it. May 7th presented a nice opportunity quickly enough.

I evaluated the piece and then looked into reconstruction. With my tools readied and went to work. I had a new sheet of felt that was to be cut into pieces to reline the blocks and bottom piece, then new brass screws to make the whole backside look fancy, and lastly a new piece of leather to really do up the final touches. A little wood glue and some scissors to get the job done and I was in business.


I removed a collection of original hand forged nails and was pleased to be able to reuse them again. But I also found the will to make some of my own seemingly similar nails to fill in the gaps.


So in went the new leather piece.


I replaced the bottom felt which rests upon the keyboard and can be seen in horrid disrepair from the April cleaning session. The new piece is full and bright. It will be a happy place change of pace for the keys it sits upon.


I felt good after replacing all the felt. Perhaps that's how it gets it's name... probably not.


My work station.


Clean Metal and Wood, New Brass, Leather, and Felt - shnazzy.


VoilĂ ! (<-is that right?) I mean to say - Presto Chango!

April 22st, 2005 - First Coat of New Paint

It needed to be Black - like space... without the stars. I was timid, but eager to begin to say the least.


I rode over to Ace and talked to the guys there. "I'm looking for a paint to last. Something to replace a paint from an old organ I've got..." I probably tried to get them enough information without making them think I'm trying to brag about some pet project I've got... I don't know if it worked or not. They sold me some paint though. I rode back home and pulled out the piece, newly cleaned, still sitting on the chairs inside where I had last placed it to dry. I then took it outside and readied my things.


Taped off the sections I wanted to stay paint free and somewhat 'original' and went to town. The paint job was sloppy... but it did the trick. This piece is easy to get to so redoing it in the future shouldn't be too harsh.

April 21st, 2005 - Detail cleaning and dirty felt


Today was my first real test, I felt, of how well I could take things apart, clean them up, and put them back together. I fell like I did a good job of taking it apart... but more importantly I was wise enough to take pictures ahead of time for to put it back together in the future.


(here you can see the mechanisms that the draws push around behind the scenes)

So off came the parts...

I pulled all the blocks off the piece. They were so perfectly crafted and yet so simple. Each one was perfectly placed and was gently lined with a small piece of felt which, for the most part, was numbered and needed to be replaced. Then off came the little arms and levers. And I piled them and prepared them for cleaning. It became apparent once they were no loner in their place how important these photos I took where going to be.


...moped up the dust, and cleaned some felt...


... and into the water it went. I hope Tucson's water is clean enough for this process...


... and a quick look at the wood after it's brief sink shower. It was like bathing a baby. Gentile, yet deliberate.

March 21st, 2005 - What To Do While Glue Dries

The glue dried on the other parts and I continued to inspect the pieces and asses the need for repair.

Today I looked over the larger vent cover. Just as weatherd as the other parts, I started to get use to the fact that all parts needed to be refinished. The fabric on this piece was also on it's way out, full of tears and rot. I started right away and removed what looked like aftermarket thumb tacks, used as a temporary fix once upon a time.


The wood looked gnarly and needed some serious cleaning up.


I moved on to the headboard - the main visual piece of the insturment. It was in need of some reattachemnt, but nothing some wood glue and time couldn't fix.


While waiting on the wood glue for the headboard, I rallied up the stain and moved some parts that didn't need the time. The keyboard cover, which I had previously glued, and the ... (music holder? I don't know what these parts are called.. look at the pictures)


Sanded, Masked, and Stained.


Old and shabby.

New and Shiny.

March 3rd, 2006 - Damage Report

With a pile of pieces off the structure I could now investigate the problems and begin to assess the rebuild. I started with the easy pieces.


The keyboard cover was cracked across the front, putting a split through the manufacture's label. The wood was also quite weathered. My first repair was to lightly sand down the piece and clamp the split with wood glue until strong.

Second I checked out the he topmost decorative vent (for lack of a better name).


It was well beaten and the fabric soiled. Further it too was cracked and the locking mechanism looked stiff and immobile.

Lastly I inspected the petals.


The fabric was worn through, as would be expected, and there were some signatures on the bottom, or notes.. writing none the less.